Introduction
Recording vocals in a home studio can be a rewarding and cost-effective way to produce high-quality music. With the right equipment, setup, and techniques, you can achieve professional-sounding recordings without leaving your home. This guide provides a comprehensive overview of how to record vocals in a home studio, covering everything from the necessary gear to the recording process.
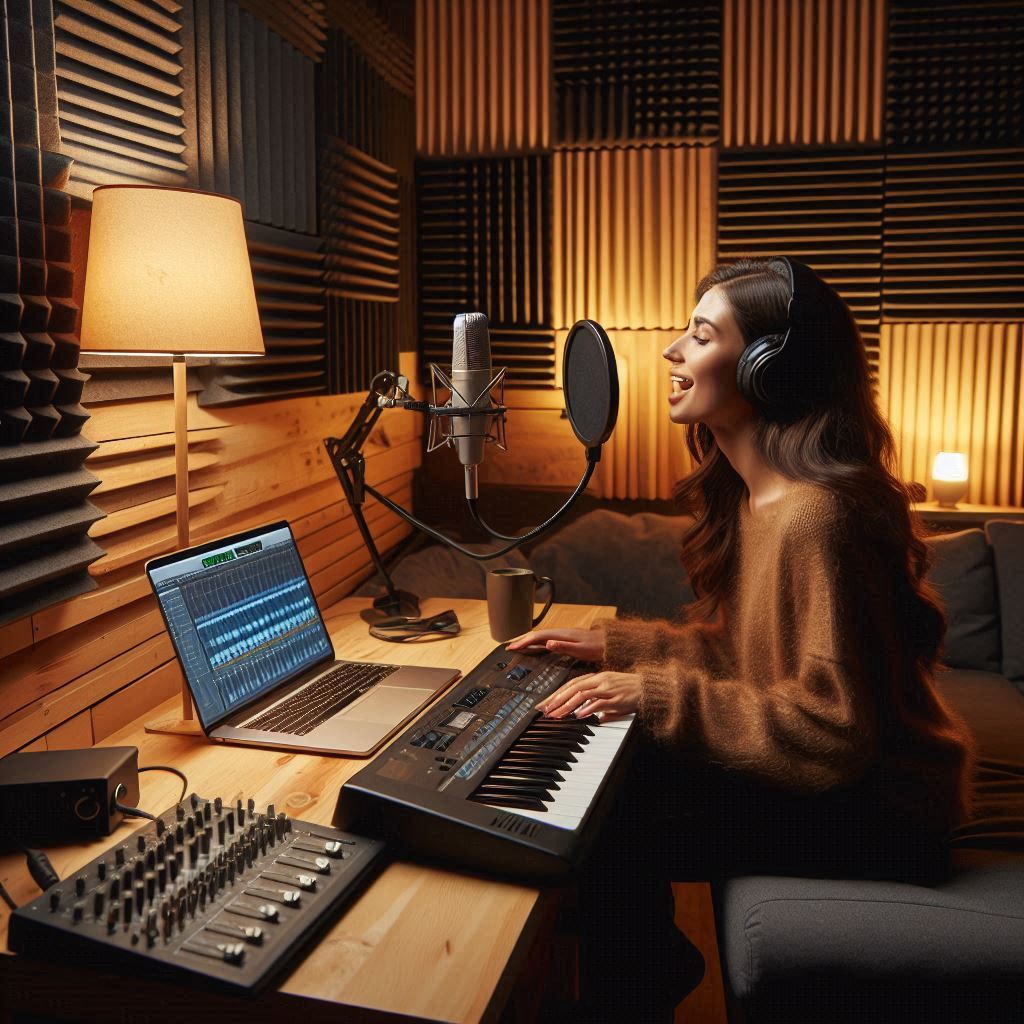
Essential Equipment for Vocal Recording
Microphones, Audio Interfaces, and More: To record high-quality vocals at home, you need the right equipment. Here are the essentials:
- Microphone: A good condenser microphone is ideal for capturing vocals due to its sensitivity and accuracy. Popular choices include the Audio-Technica AT2020, Shure SM7B, and Rode NT1-A.
- Audio Interface: This device converts analog signals (your voice) into digital signals for your computer. The Focusrite Scarlett 2i2 and PreSonus AudioBox USB 96 are excellent options.
- Pop Filter: A pop filter helps reduce plosive sounds (like “p” and “b” sounds) that can cause distortion.
- Headphones: Closed-back headphones like the Audio-Technica ATH-M50x allow you to monitor your recording without any bleed into the microphone.
- Mic Stand and Shock Mount: A sturdy mic stand and shock mount help isolate the microphone from vibrations and handling noise.
- Acoustic Treatment: Acoustic panels, bass traps, and diffusers help control the acoustics in your recording space, reducing reflections and echoes.
Setting Up Your Home Studio
Acoustic Treatment and Layout: The environment in which you record vocals significantly affects the quality of your recordings. Follow these tips for setting up your home studio:
- Choose the Right Room: Select a room with minimal external noise and as little echo as possible. Smaller rooms with carpeting and furniture are usually better.
- Acoustic Panels: Install acoustic panels on the walls to absorb sound reflections. Place them at ear level around your recording area.
- Bass Traps: Place bass traps in the corners of the room to absorb low-frequency sounds.
- Reflection Filter: Use a reflection filter behind your microphone to further reduce reflections and improve the clarity of your recordings.
Microphone Techniques
Placement and Usage Tips: Proper microphone placement is crucial for capturing the best vocal sound. Here are some techniques:
- Distance: Position the microphone about 6-12 inches from your mouth. Adjust the distance based on the volume and intensity of your singing.
- Angle: Angle the microphone slightly off-axis to reduce sibilance (harsh “s” sounds).
- Pop Filter: Place the pop filter about 2-3 inches in front of the microphone to prevent plosives.
- Vocal Booth: If possible, create a DIY vocal booth using blankets or foam to further isolate your recordings.
Pre-Recording Preparation
Warm-Ups and Vocal Care: Preparing your voice before recording is essential for achieving the best performance. Follow these steps:
- Warm-Up Exercises: Spend 10-15 minutes on vocal warm-ups to loosen your vocal cords and improve your range.
- Hydration: Stay hydrated by drinking plenty of water before and during the recording session.
- Avoid Dairy and Caffeine: These can cause mucus buildup and affect your vocal clarity.
- Rest: Ensure you’re well-rested to avoid vocal strain and fatigue.
The Recording Process
Step-by-Step Recording Guide: Recording vocals involves several steps. Here’s a guide to help you through the process:
- Set Levels: Adjust the input gain on your audio interface so that your loudest parts don’t peak above 0 dB. Aim for -6 dB to -3 dB.
- Monitor with Headphones: Use closed-back headphones to monitor your voice while recording.
- Record Multiple Takes: Record multiple takes of each section to capture the best performance.
- Stay Relaxed: Maintain a relaxed posture and focus on delivering an emotive performance.
Editing and Processing Vocals
Tips for Post-Production: Once you’ve recorded your vocals, the next step is editing and processing. Here are some tips:
- Comping: Combine the best parts of multiple takes to create a seamless vocal track.
- Noise Reduction: Use noise reduction plugins to remove background noise.
- EQ: Apply EQ to enhance the vocal tone, cutting unwanted frequencies and boosting others.
- Compression: Use compression to even out the dynamics and add presence to your vocals.
- Reverb and Delay: Add reverb and delay to create space and depth in your vocal track.
Avoiding Common Mistakes
Pitfalls to Watch Out For: Be aware of common mistakes that can affect the quality of your recordings:
- Overloading the Mic: Avoid recording too close to the microphone, which can cause distortion.
- Ignoring Room Acoustics: Poor room acoustics can ruin an otherwise great recording. Invest time in proper acoustic treatment.
- Inconsistent Performance: Ensure consistent vocal performance by practicing and staying focused during the recording session.
Finalizing Your Vocal Tracks
Mixing and Mastering Tips: Finalizing your vocal tracks involves mixing and mastering. Here are some tips:
- Balance Levels: Ensure your vocals sit well in the mix with other instruments.
- Automation: Use volume automation to maintain consistent vocal levels throughout the track.
- Mastering: Apply mastering techniques to enhance the overall sound and ensure it translates well across different playback systems.
FAQs
What equipment do I need to record vocals at home?
You need a good microphone, audio interface, pop filter, headphones, mic stand, shock mount, and acoustic treatment for your recording space.
How can I improve the acoustics in my home studio?
Use acoustic panels, bass traps, and a reflection filter to control sound reflections and improve the recording environment.
What is the best microphone for home vocal recording?
Popular choices include the Audio-Technica AT2020, Shure SM7B, and Rode NT1-A.
How do I avoid vocal strain during recording sessions?
Warm up your voice, stay hydrated, avoid dairy and caffeine, and ensure you’re well-rested before recording.
What are some common mistakes to avoid when recording vocals?
Avoid overloading the mic, ignoring room acoustics, and delivering inconsistent performances.
Conclusion
Recording vocals in a home studio requires the right equipment, proper setup, and effective techniques. By investing in quality gear, treating your recording space, and honing your vocal skills, you can achieve professional-quality recordings from the comfort of your home. Follow the steps outlined in this guide to enhance your recording process and produce impressive vocal tracks.